
 menu
menu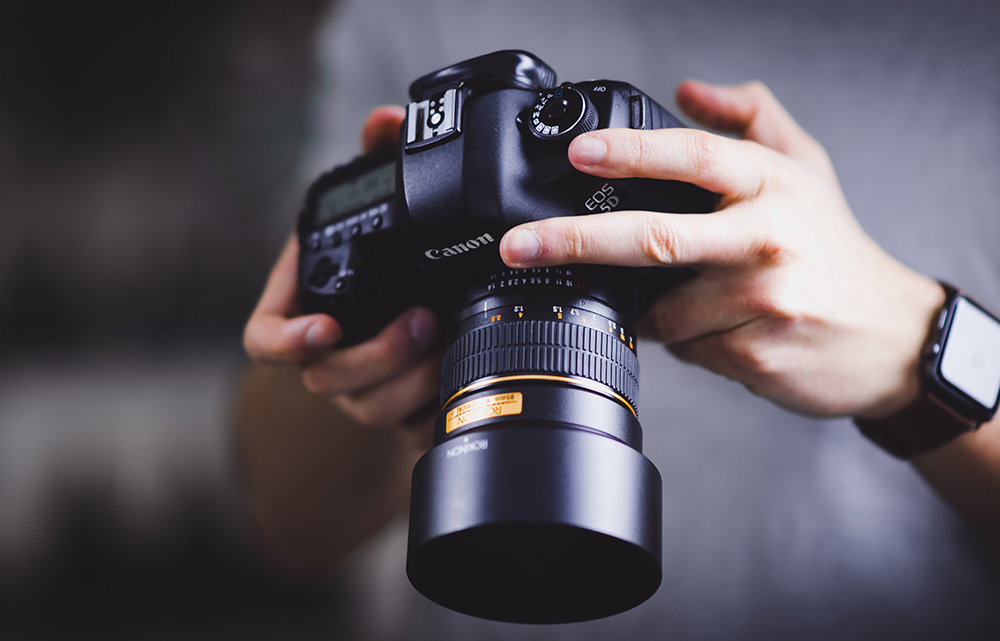
Eye-catching photographs are one of the keys to successful marketing. Having appealing photos and showing them to the right people can quickly boost sales from nothing to something substantial. From finding the right product shoot space to using the best lights and backgrounds, here are some pro-level tips you can try if you want to DIY your own product shoot:
1. The Prototype
If you aren’t very handy with computer and photo editing skills, the best way to avoid them is to ensure your prototype of the product is in its best aesthetic condition. Let’s say you are shooting a fruit – pick a fruit that is vibrant in color, has the least amount or even zero blemishes, and one that is nicely shaped and proportioned. The same goes for your product, it should be in the best shape and look possible.
2. The Space
Choose a space that is clean and calm. Having a calm space will give you a more focused approach and relaxed feel while you are doing the shoot. A great and affordable option is to find a low-key photography studio for rent or book a few hours up to a day at a co-working or shared office space.
3. The Lighting
Lighting is a very important aspect in photography. Ideally you may want to look for a space that allows natural light to come in, be it through a window or skylight; but if natural light is not available, you can opt for lamps and light bulbs. Look for 5-watt fluorescent bulbs and 60-watt incandescent bulbs, which will provide optimal lighting for your product shoot.
4. The Backdrop
When doing product shoots, the ideal backdrop is white. White minimizes light reflections and it is also the easiest background color to remove and retouch on the computer. You can DIY your own light box or white backgrounds from everyday items and school supplies such as poster board, cartolina, or white paper – the more white in color, the better for your backdrop.
5. Other Tools
For starters, you don’t need a professional camera to do your product shoot. Your camera at home or even a smartphone can do the trick. If you lack a steady hand, take a tripod with you to ensure that you are taking straight and well-angled photos. Don’t forget to always look at your first test shots so you know if there is anything that you might need to adjust, such as lighting, placement or the backdrop.